Setup Asmid Client
This tutorial will walk you through the basic steps of downloading, installing and configuring Asmid Client
- Part 1: Downloading and Installing Asmid Client
- Part 2: Configuring Asmid Client
Part 1: Downloading and Installing Asmid Client
Close all other programs (recommended) before installing Asmid Client and make sure that you install it logged in as Administrator or a member of the Administrators group if you are installing it on a Windows NT or higher system.
- Download the Latest Asmid Client installer
-
Double click or run the AsmidClientInstall.exe self-extracting installer. You may be prompted “Do you want to allow the following program to make changes to this computer” click Yes (or Allow). Clicking Yes will give the Asmid Client Installer Administrator privileges to install (required on most operating systems).
- You will see the “Welcome to the Asmid Client Free Trial Setup” screen. Click Next.

Asmid Client Install Welcome Page - Agree to the licensing agreement to continue. Select the “I accept the agreement” button and click Next.
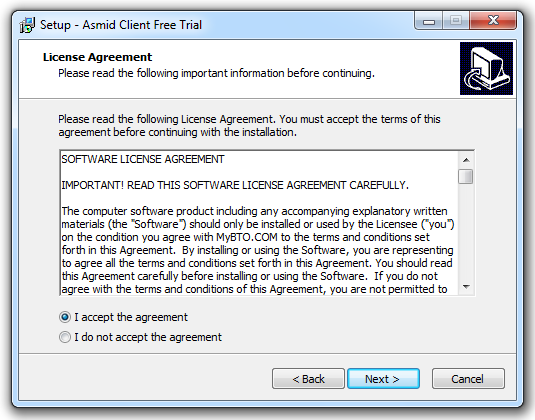
Agree to the licensing agreement - Select an installation folder. Or keep the default path and click Next.
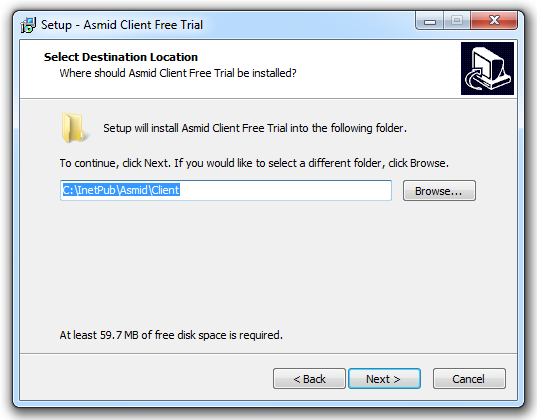
Select Installation Folder Setup Page - Select Start Menu folder to create the program’s shortcut. Or keep the default folder. Click Next to move to the confirmation page.

Select Start Menu Folder Setup Page - Confirm your settings and click Install to begin installation.
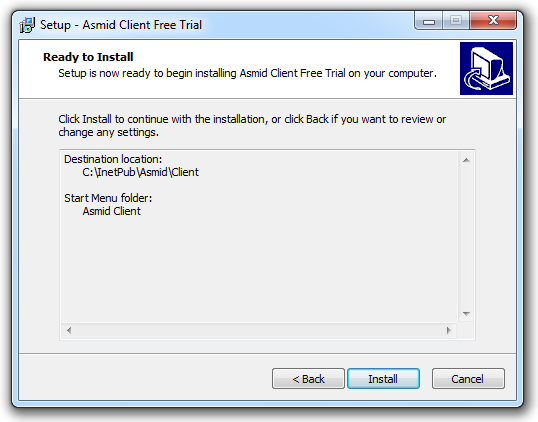
Confirm the settings for your installation - Click Finish to complete the installer.
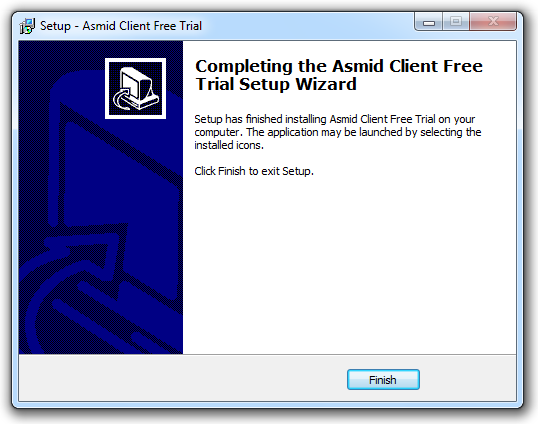
Installation Complete Setup Page
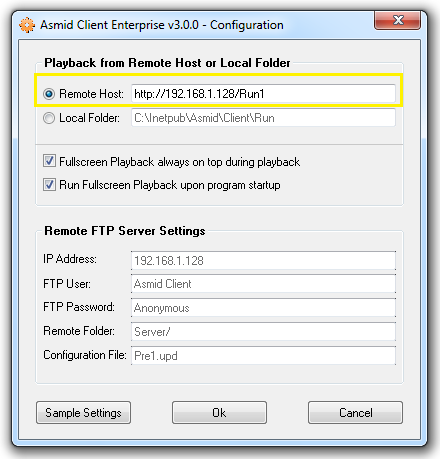
Part 2: Configuring Asmid Client
Generally you do not need to change the default settings, unless you have installed Asmid Client to a different folder then you must change the Run path of the Local Folder. Just click the Ok button to save the settings.

Configuring the Asmid Client to access the Web Server
- Tick the Remote Host option button (available in Enterprise version).
- Enter the remote host IP address of the Web Server and the Run path.
- Click the Ok button to save the settings.